My Process
When I first started working with bands, I wasn’t exactly sure what kind of process would work best for me. I wanted to be able to turn around high-quality work efficiently, especially with tight deadlines, but it took a bit of trial and error to find the right rhythm. In this post, I’ll walk you through the first steps of how I usually approach each project, and how I start to achieve the style I’ve become somewhat known for.
Step 1: Understanding the Band
Before I even put pencil to paper, the first thing I do when a band commissions me is get a proper understanding of who they are and what they’re about. And the best way to do that? Listen to them. Really listen.
I dig deep into their back catalogue, sit with their music, and try to get a feel for their energy, attitude, and themes. It’s this step that helps me add those small, meaningful details into the final artwork that fans can notice and connect with. For me, properly understanding the band and what makes them tick is probably the most important part of the whole process. It’s where all the best ideas come from, before anything is drawn at all, so I’d definitely recommend to never skip out on the research phase.
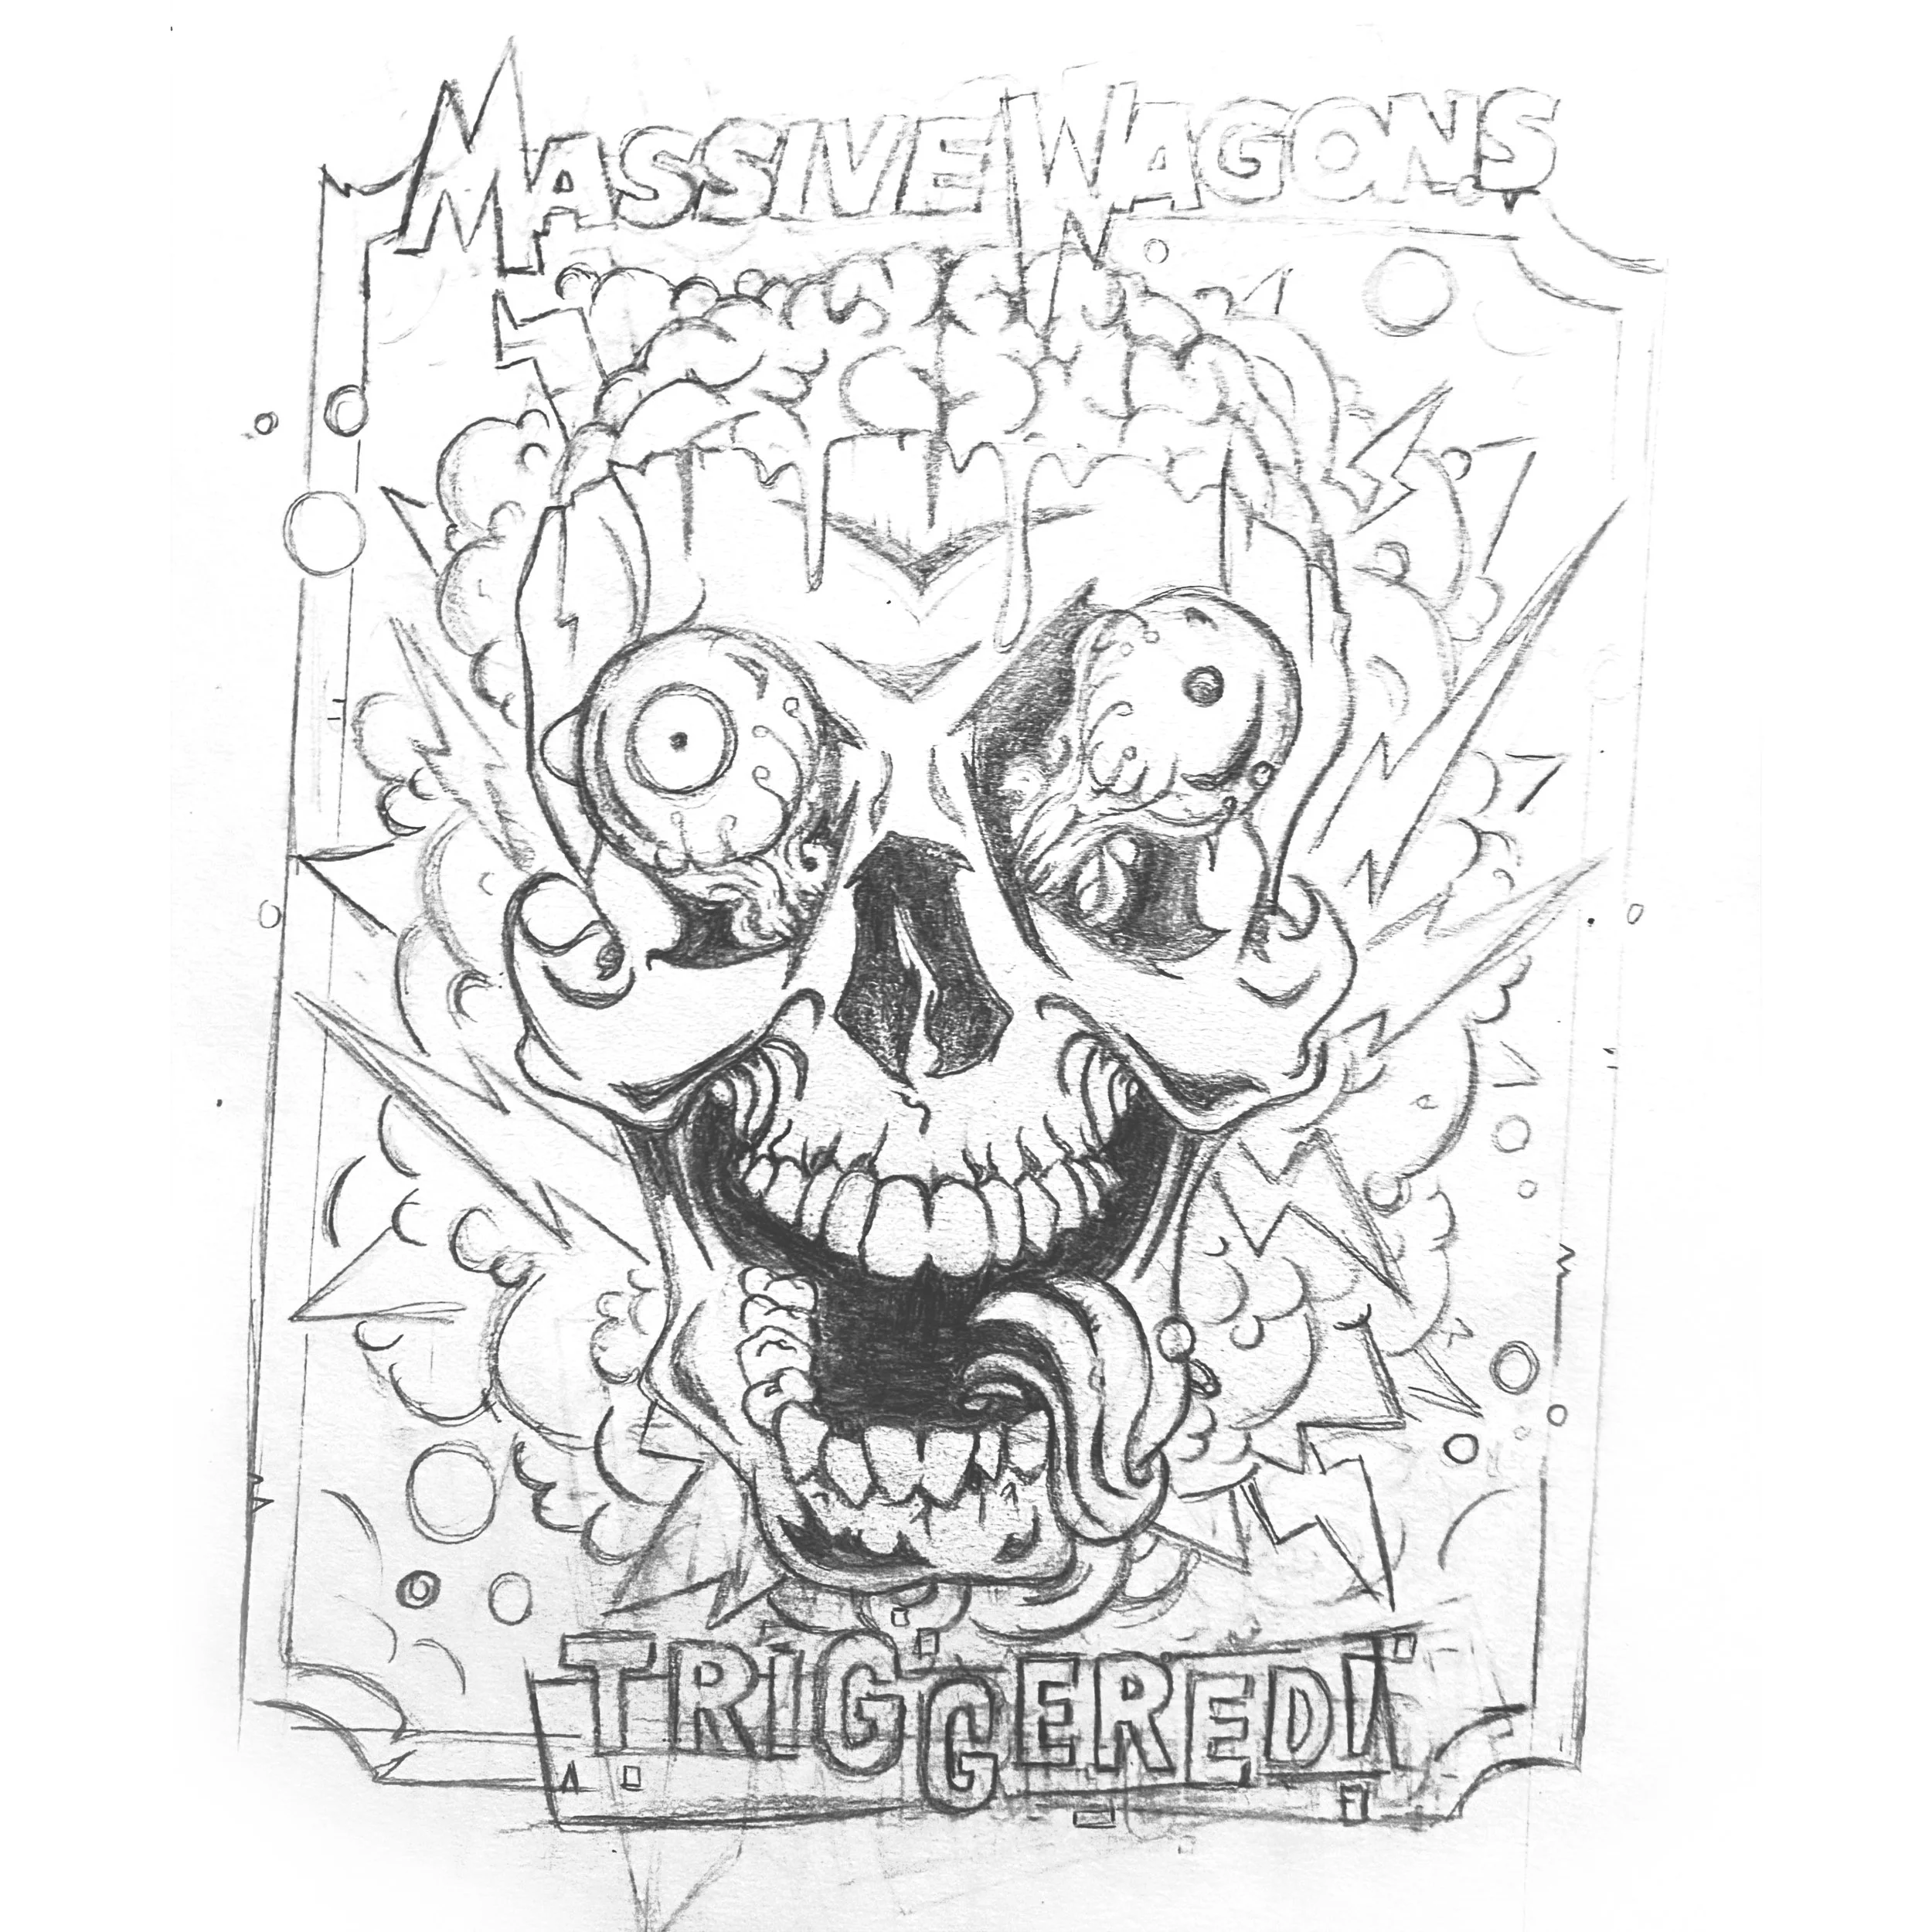
Step 2: The Initial Sketch
Once I’ve got a strong sense of the band’s vibe and imagery, I move on to the sketch. I’m not big on loads of thumbnails or rough doodles, so I prefer to dive right into creating a clear, structured sketch that acts as the skeleton for the final piece.
Sometimes I’ll work traditionally with pencil and paper, and other times I’ll go straight to the iPad. Either way, this stage gives me a simplified version of the final piece with clear outlines, not too much detail and just enough to build on when it comes to the final linework.
And that’s where I’ll leave it for now. With the rough outline in place, it’s the perfect point to pick things up in part two, where I’ll get into the inking, colouring, and how everything starts to properly take shape.